Flow Profiling Modification – Part 03
Cats: Espresso
Cut my first copper tubing today. How often does one say that?
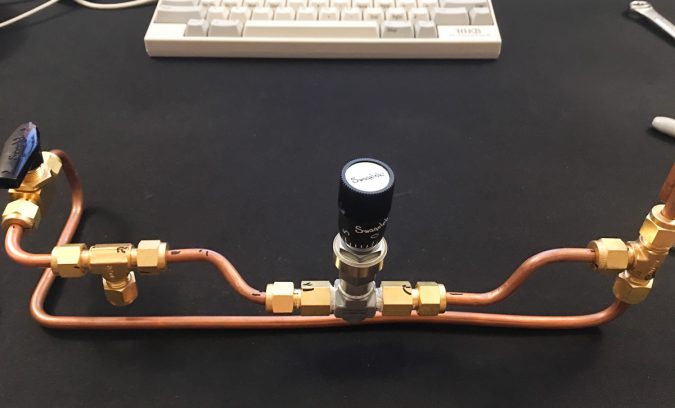
Along with the fittings I also purchased the tools you need to deal with this stuff. A tube bender (although this tubing is soft enough to bend with your hands, forming it around something like a baseball bat), a tube cutter and de-burring tool. First time I used any of this stuff and of course I didn’t read the manual. It all seemed pretty basic.
I thought I de-burred everything fine and finger-tightened the tubing into the fittings to work out angles. I took a break and read the manual while eating dinner. Turns out, you need to de-burr the outside as well as the inside. I’m pretty sure I didn’t leave any copper shavings in the fittings due to that slight mistake. I re-de-burred everything, vacuumed and air-dusted all the fittings. Should be fine, right?

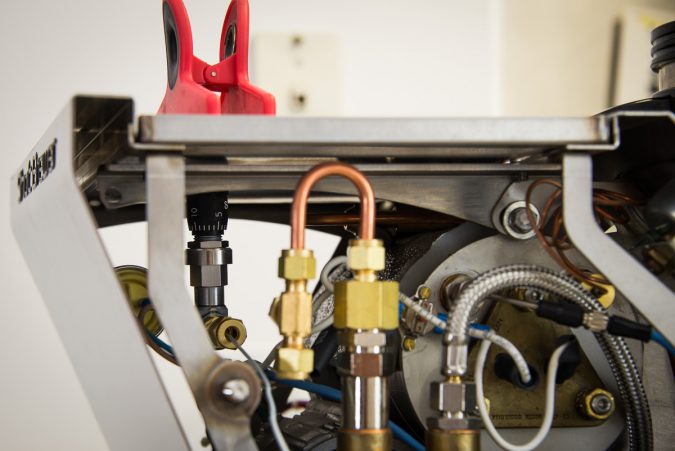
One of the minor goals is to get the knob of the needle valve to be placed just where a hole in the top panel happens to be. That way I can adjust it just by sliding off the cup rack. The trusty potato-chip clamp thingy was just the tool to hold the valve in place while mocking up the tubing. Love it!
I mentioned regretting not getting the needle valve with the compression fittings and I am doubly regretting it today. The needle valve with the adapter fittings take up a lot of space and I had to do some off angles in order to get other stuff to fit right. I will definitely redo all the tubing if I switch up and get the smaller needle valve.
The tools I got were not cheap. I got the Swagelok bending,cutter and de-burr tools. My rationalization to that is using the exact right awesome tool for the job is right up there with pulling that “god” shot espresso. It’s the journey, not the destination!
I’ll get a little more done tomorrow. Who knows, I may even finish. No rush though, I’m pulling my shots on my “backup” Cremina and that is holding me over really well.
